
On this page 7 sections
To make your own stickers, decide where they will be stuck, design at the finished size, add bleed and a safe margin, export a high-resolution file, then either print it on sticker paper at home or upload it to a printer for cutting. The decision that matters most is material, because it controls how long the sticker lasts.
Step 1: start with the surface, not the drawing
The same design behaves differently on a laptop lid, a glass jar and a wheelie bin. Before opening any design app, write down three things:
- Surface: paper, card, plastic, glass, metal or painted wood.
- Conditions: dry and indoors, handled a lot, in the fridge, or outside in rain.
- Lifespan: a single event, a few months, or as long as possible.
Indoor, short-life stickers can be paper. Anything damp, handled or outdoors needs a plastic film such as polypropylene or vinyl. Making that call first stops you designing something beautiful for the wrong material.
Step 2: choose the format
Custom stickers come in three main formats, and each suits a different way of using them.
| Format | What you get | Best when |
|---|---|---|
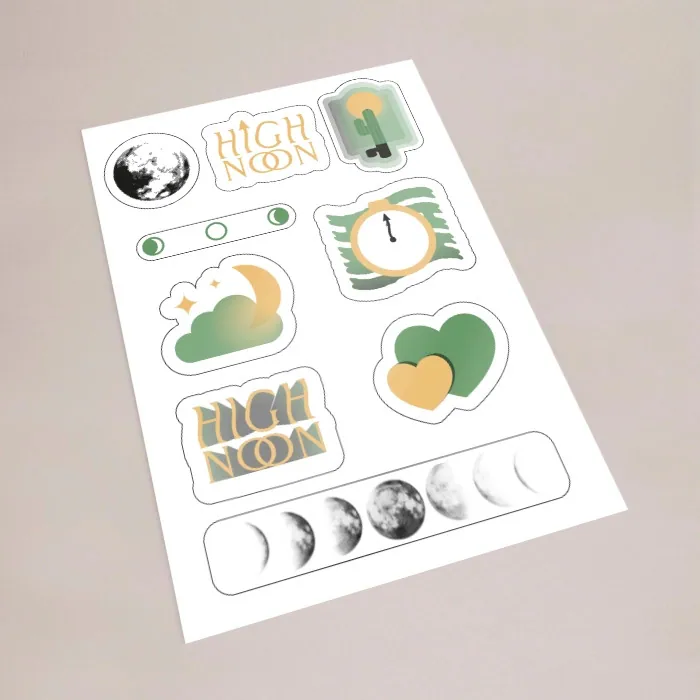
| Sticker sheet | Several stickers on one backing sheet | Handing out sets, planners, merch packs |
| Individual cut stickers | Each sticker on its own backing, cut to shape | Giveaways, laptops, bottles, packaging |
| Labels on a roll | Stickers lined up on a reel | Applying hundreds by hand or machine |
If you want a mix of designs in one pack, look at custom sticker sheets, which hold between 10 and 50 stickers per sheet on white or transparent polypropylene. For one design in a shape that follows the artwork, die cut stickers are the usual route.
Step 3: design at the real size
Set your canvas to the exact finished size, for example 75mm x 75mm, rather than designing large and shrinking later. Small text that looks fine on a big screen often becomes unreadable once printed at 50mm.
Rules of thumb for sticker artwork
- Keep body text at 6pt or larger, and thin lines above 0.25pt.
- Leave at least 3mm between important content and the cut line.
- Add 2-3mm bleed where colour runs to the edge.
- Use bold shapes and strong contrast; stickers are read at a glance.
- Work in CMYK if your software allows, so screen colours are closer to the print.
Shapes and cut lines
For a shaped sticker, draw the outline as a separate path or leave a clear border round the artwork so the cut can follow it. A white or coloured border of 2-3mm around a character or logo makes the cut look deliberate and keeps fine details intact.
Step 4: export a print-ready file
A PDF with fonts embedded is the safest format. A PNG also works if it is at least 300 pixels per inch at the finished size: a 75mm sticker needs roughly 900 x 900 pixels. Avoid screenshots and images saved from social media, which are compressed and print soft.
If you are ordering, upload the file when you check out. Every upload is checked automatically before print, and very low-resolution images are flagged before payment so you can replace them, send the right file later, or ask for help.
Step 5: print at home or order printed
Home printing makes sense for a handful of paper stickers you need today. It struggles with waterproof results, clean shaped cuts and anything above a few dozen. Ordering printed stickers makes sense once you need durability, consistent colour, or a quantity you would not want to cut by hand.
When home printing is enough
Party favours, planner stickers for yourself, a one-off label for a storage box. An inkjet or laser printer and a pack of sticker paper will do the job, and scissors or a craft knife handle the shapes.
When to order instead
Selling at a craft fair, branding product packaging, giving stickers away at an event, or putting anything outside. Laminated polypropylene stands up to handling and moisture far better than home-printed paper, and the cut is clean every time.
Common mistakes to avoid
- Designing on a white background for a clear sticker. White areas print clear unless white ink is specified.
- Placing text right on the edge, where a fraction of a millimetre of cutting movement trims it.
- Forgetting the backing colour shows through thin designs on transparent film.
- Ordering one size for every use. A laptop sticker and a jar lid label rarely want the same dimensions.
If you have the idea but not the design skills, our artwork and design service can turn a sketch or a logo into a print-ready file. For a quick, simple start, stickers on a sheet in matt or gloss paper are an easy first order.
Questions
What is the easiest way to make your own stickers?
Design at the finished size, export a PDF or a 300ppi PNG, and either print on sticker paper at home for a few pieces or upload the file to a printer for larger quantities and tougher materials.
What file format do I need for custom stickers?
A PDF with embedded fonts is safest. A high-resolution PNG works too, as long as it has enough pixels for the finished size.
Can I make waterproof stickers at home?
Home sticker papers resist a splash at best. For stickers that go in the fridge, on bottles or outdoors, laminated polypropylene or vinyl is the reliable choice.
How do I make stickers in a custom shape?
Leave a 2-3mm border around your artwork or supply a separate cut line, then order die cut stickers so the cut follows the shape.
How many stickers should I make for a first batch?
Count the real uses for the next few months and add a small margin. The price per sticker drops as quantities rise, so it is worth comparing a couple of quantity breaks on the product page.